How to Use Short Training Videos to Prepare IT Learners for Hands-On Labs
Quick answer: Use a short training video to introduce one problem, demonstrate the reasoning behind a decision, and prepare learners for a task they will perform themselves. Follow…
Quick answer: Use a short training video to introduce one problem, demonstrate the reasoning behind a decision, and prepare learners for a task they will perform themselves. Follow it with a lab and a check that requires explanation. Keep accurate screen recordings for technical procedures and use generated visuals where they clarify context.
An IT learner can follow a video perfectly and still hesitate when the same problem appears in a different environment. The instructor clicks a menu, the learner clicks the same menu, and the exercise ends without revealing whether the decision made sense.
That gap matters in certification training and on the job. Real incidents rarely arrive with a narrator explaining the next step. A useful training video should prepare learners to investigate, choose, and verify, then hand the work back to them.
Start with the task learners must perform
Before writing a script, define the observable task. “Understand troubleshooting” is too broad to guide production or assessment. “Identify the next useful check when a workstation cannot reach a named service” gives the lesson a clearer purpose.
Describe the starting conditions, available information, and expected result. Specify what the learner can use, such as a diagram, a lab environment, or a reference sheet.
Then decide what evidence would show competence. A correct final configuration may be necessary, but it might not reveal whether the learner understood the cause. Ask for a short explanation of the checks performed and the reason for the chosen action.
This preparation keeps the video connected to the learning objective. Scenes, narration, and examples can now be judged by whether they help learners perform that task, rather than whether they make the course look more polished.
Give the video one instructional job
Short does not automatically mean focused. A three-minute video can still introduce several unfamiliar concepts, move too quickly through a procedure, and leave no room for thought.
Choose one instructional job. The video might introduce a troubleshooting scenario, model how an expert interprets evidence, or explain a prerequisite before the lab begins.
For a networking lesson, that job could be showing why two apparently similar connection failures deserve different initial checks. The video can present the symptoms and explain what information matters without attempting to cover an entire networking syllabus.
Write the job in a single sentence and keep it beside the script. Remove any passage that does not support it.
If important supporting material remains, create a separate reference or another lesson. Learners need a clear route through the subject, and the instructor needs a manageable unit to update when the underlying technology changes.
Use a scenario that creates a real decision
A familiar workplace situation gives learners a reason to pay attention.
Consider an employee who can open an internal dashboard by its numeric address but cannot reach it by its usual name. The training goal is to investigate the evidence before changing settings. The scenario creates a decision about what to check next.
Present only the information learners would plausibly have at that stage. Avoid introducing a dramatic outage when the actual lesson concerns a narrow diagnostic distinction.
Show the initial report, a simple environment diagram, and the results of the first check. Ask learners to write down the next piece of information they want before continuing.
The answer should depend on the evidence in the scenario. If learners can succeed by repeating a slogan from the previous slide, the example needs more work.
Keep the situation realistic without making it cluttered. Unnecessary technical detail can obscure the exact judgment the lesson is intended to develop.
Match each visual to what it needs to prove
Different visuals serve different purposes in technical education. A real screen recording shows what the learner should see in the specified environment. A diagram explains relationships. An illustrative scene establishes context.
Keep those roles clear. Do not use an invented interface as if it were an accurate demonstration of a system’s controls.
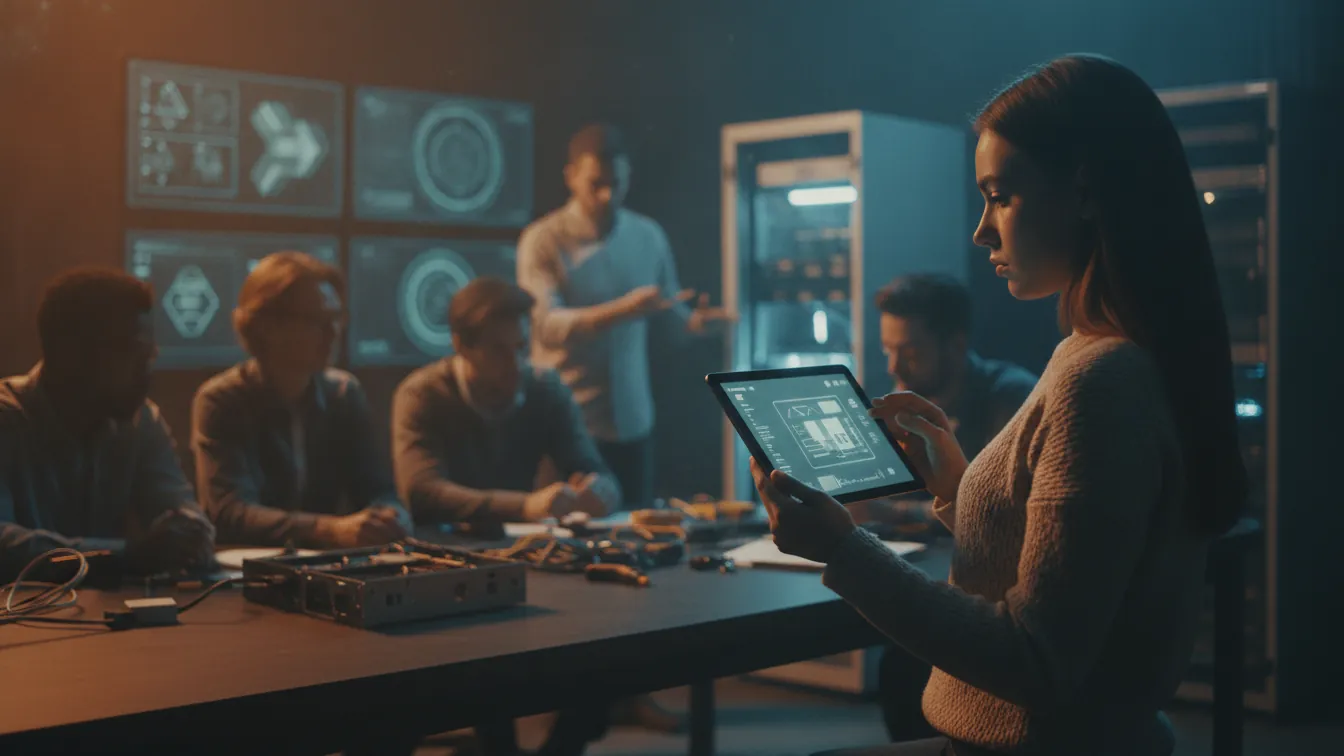
For an opening scene that places the lesson in a workplace, VideoGen’s Runway Gen-3 model can generate contextual footage from a described scene. Use it to establish the situation, then switch to verified recordings and instructor-made diagrams for the technical explanation.
Label illustrative material when viewers could mistake it for evidence. A scene of a server room may establish atmosphere, but it does not show the actual network being diagnosed.
This approach lets production tools help with presentation while preserving the accuracy that learners need when they move into the lab.
Script the reasoning between the clicks
Procedural narration often describes actions without explaining decisions: open this window, select that option, enter this value.
Learners also need to hear why the instructor chose those actions. What possibility is being checked? What result would change the diagnosis? What should remain untouched until more information is available?
Write the script around those questions. Introduce the observation, explain the working hypothesis, perform the check, and interpret the result.
Use plain language before introducing an abbreviation. Keep names and labels consistent with the screen. If a term has a precise technical meaning, explain it accurately rather than replacing it with a loose analogy that will cause trouble later.
Read the script aloud while viewing the planned visuals. If the narration discusses a result before it appears, adjust the sequence. If a sentence requires three diagrams to make sense, it may contain too many ideas.
Build pauses into the learning activity
A pause prompt is most useful when it requires a response learners can compare with later evidence.
Ask for a prediction, a choice of next check, or a short explanation. Give learners enough information to reason, then tell them what to write or select before continuing.
For example: “Two checks remain available. Which would help distinguish these possibilities, and what result would you expect?” The value lies in the explanation, not just the selected option.
Place the answer after the pause and discuss the tempting alternative. Learners should understand why that alternative was less useful in this situation.
When possible, make the response part of the course activity rather than a suggestion hidden in narration. A worksheet, discussion prompt, or brief LMS question can make the decision visible.
Keep these interruptions purposeful. Too many pauses can fragment a simple explanation and make the video harder to follow.
Prepare a lab that changes one important condition
The lab should require learners to use the reasoning from the video in a slightly different situation.
If the video demonstrated one symptom pattern, change a relevant condition in the exercise. Learners might receive a different report or a different initial test result while working toward the same diagnostic objective.
Provide a clear starting state and a safe environment. Tell learners what they may change, what they must preserve, and how to reset the exercise. Keep those instructions outside the video as well, so learners can consult them while working.
Require a brief record of the evidence collected. This discourages random changes and helps instructors distinguish a correct diagnosis from a lucky outcome.
End with a verification step. The learner should confirm that the intended service works and explain why the result supports the conclusion. That final check connects the action to the original problem.
Make the lesson usable without ideal conditions
Learners may study on a small screen, in a shared workspace, or with the sound turned off. Build those conditions into the review.
Correct the captions and check technical terms individually. Similar abbreviations can produce very different meanings, so automated text deserves a careful pass.
Keep interface labels large enough to read. Crop the recording around the relevant area instead of shrinking an entire desktop into the frame. Avoid covering the controls with captions or decorative graphics.
Describe essential visual changes in the narration, and provide a transcript that includes the instructional meaning of important diagrams. A transcript made only from spoken words can miss information carried by the screen.
Give learners control over playback where the delivery system supports it. Someone reviewing a prerequisite may move quickly; someone encountering the concept for the first time may need to stop and examine the example.
Review technical accuracy separately from presentation
A well-paced video can still teach an incorrect procedure. Assign a technical review before the final visual polish.
Ask a subject expert to check the scenario, commands, labels, expected outputs, and explanation. Record the environment and software version used for demonstrations. If the course maps to a certification objective, verify the current objective through the certification provider’s official materials.
Then conduct a presentation review with a learner or colleague who was not involved in production. Ask where they lost track of the reasoning and what they expected to do next.
These reviews answer different questions. The expert checks whether the lesson is correct. The learner helps reveal whether it is understandable.
Resolve content errors first. There is little benefit in perfecting transitions around a demonstration that will need to be recorded again.
Measure what happens after the video
Completion data shows that a learner reached the end of a resource. It does not establish that the learner can perform the task.
Look at the lab evidence. Did learners choose useful checks? Could they explain the results? Did they verify the outcome? How much prompting did they need?
Add a later check using another example so the assessment does not depend entirely on remembering the video’s sequence. Review common errors by concept rather than treating every wrong answer as a general lack of effort.
If many learners make the same mistake, inspect the teaching materials. The scenario may omit an assumption, the diagram may suggest the wrong relationship, or the explanation may move too quickly.
Use that information to revise a small part of the lesson. A focused video linked to a specific task is easier to improve than a long recording covering several unrelated objectives.
Pilot one complete learning sequence
Start with one objective, one short video, one lab, and one assessment. Test the sequence before creating a whole library.
Ask pilot learners to describe what they thought the video was preparing them to do. Watch where they consult the recording during the lab. Their behavior may reveal that a reference sheet would be more useful than another minute of narration.
Keep the approved script, recordings, diagrams, and review notes together. Assign an owner and a reason to revisit the lesson, such as a software change or a pattern of learner errors.
The strongest training sequence ends with the learner doing the work. A clear video can introduce the problem and make expert reasoning visible. The lab then gives learners a chance to apply that reasoning, explain their choices, and build confidence in a result they can verify.
Ready to earn your certification?
Boost eLearning offers Live Labs, a Pass Guarantee, and online, live virtual, and on-site delivery.


