
 February 7, 2026
  7 Min
7 Min  No Comment
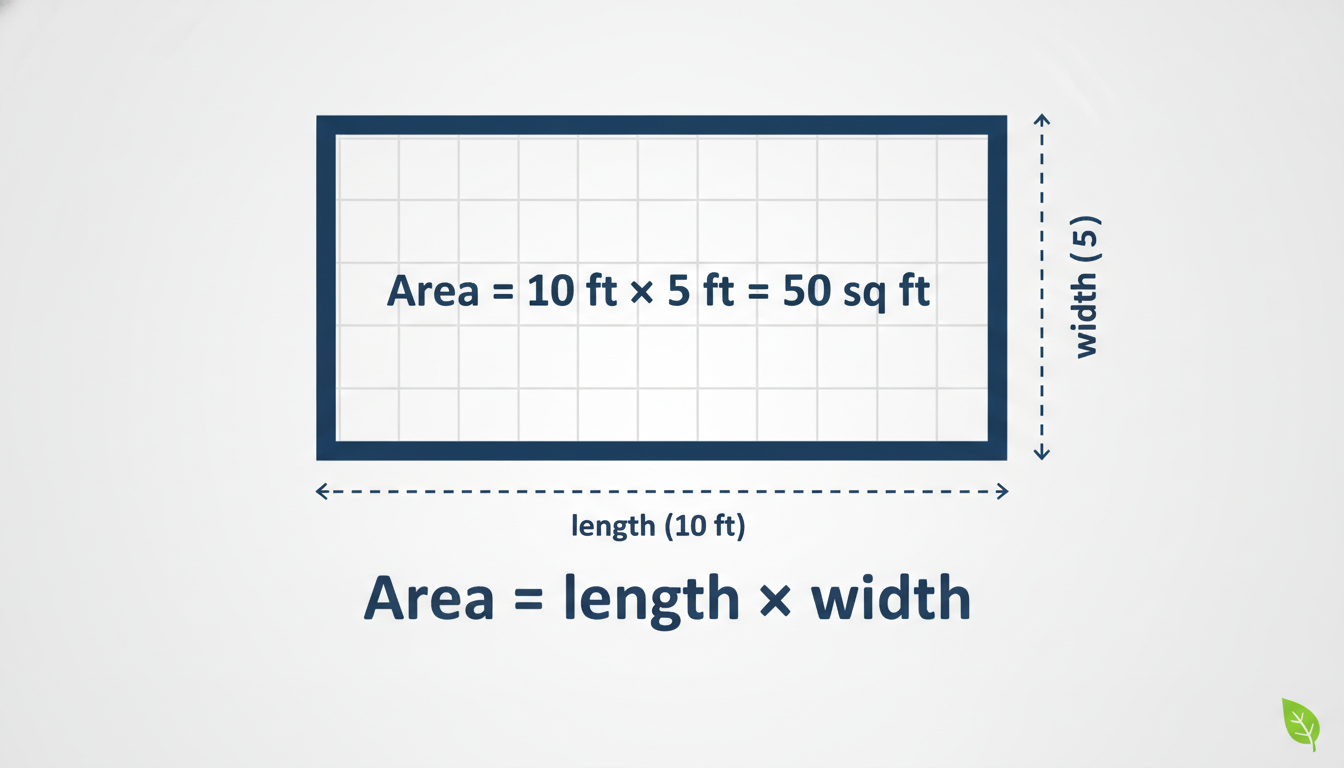
Understanding how to find area is more than just plugging numbers into formulas—it’s about connecting shapes to real-world spaces, whether you’re tiling a kitchen floor or mapping out a community garden. Let’s walk through it all, uncovering methods for measuring areas of shapes simple and complex alike, with friendly asides and a touch of storytelling so it’s not just math—it’s surprisingly practical.
Why Finding Area Matters in Everyday Life
Often it strikes me how area calculations pop up in totally unexpected moments: choosing paint, planning a rug layout, or marking a soccer field. Beyond just geometry class, area has real, tangible uses—like how contractors estimate the materials for a patio or how architects sketch floor plans during early design phases. And while textbooks make it seem rigid, real-world area-finding often involves approximations and creative solutions.
Core Formulas for Common Shapes
Rectangles and Squares
Start with the basics—length times width for rectangles and sides squared for squares. It’s the simplest formula and used so often that sometimes you barely think about it, like when measuring a screen or plotting a book cover. Yet accuracy still matters; being even a little off—like misreading 5.5 vs. 6.5 inches—can skew your result notably.
Triangles
For triangles, the area is ½ × base × height. Notably, we often estimate the “height” unless it’s clearly given, like dropping a perpendicular in architectural sketching. In practice, you might measure from a sloped beam to the ground and approximate rather than measure directly, showing how theory meets reality.
Circles
The formula π × radius² (πr²) underpins area for circles. Interestingly, some models use τ (twice π), which simplifies a few steps—but π remains the default. The message here: math evolves, but traditions stick, especially in education and engineering.
Strategies for Irregular Shapes and Real-World Scenarios
When shapes don’t fit neat formulas—say a curved garden bed or a pie-shaped roof section—you need to get creative. One trusty method is decomposition, breaking the shape into familiar pieces like triangles, sectors, or segments, then summing their areas. Alternatively, consider grid approximation: overlay a physical grid and count squares, adjusting for partial squares—helpful in quick estimates or when digital tools aren’t handy.
In modern times, software such as CAD, GIS, or apps like Google Earth help compute irregular areas precisely—though those assume you’ve traced the boundary correctly. Even then, human error in tracing underscores that precision relies on both the tool and the user.
“Understanding area calculation isn’t just about formulas—it’s about being able to translate real environments into measurable pieces, especially when shapes are messy or complex.”
This framing underscores that computing area is a skill blending formulas with on-the-ground adaptability.
Step-by-Step: Calculating Area in Practice
- Identify the shape or collection of shapes.
- For standard shapes, gather key dimensions (like base, height, radius).
- Decide whether to apply formulas directly or decompose the shape.
- For decomposition, break the shape into recognizable parts and calculate each area.
- Add them up—simple shapes, sum their areas; circles, add πr² pieces; irregular, adjust with partial approximations.
- If using software, verify your trace or input—it’s only as accurate as your outline.
For example, imagine designing a custom rug that fits in a triangular nook beside an L-shaped cabinet. It combines a right triangle and rectangle—you’d compute each separately, then combine. Easy, right? That micro scenario illustrates the blend of formula, visualization, and real context.
Insights from Education and Industry
Educational research shows students often memorize area formulas but struggle applying them to compound or irregular shapes. Real-world professionals, like landscapers, frequently use both mental math and simple tools—like string outlines on the ground to form approximate shapes before working out area. One landscape planner recently shared how tracing irregular beds onto graph paper helped both her and clients visualize and calculate material needs, merging tactile engagement with calculation.
Tackling Mistakes and Mindful Calculation
In real settings, measurements are imperfect—tapes can sag, edges might not be perfectly straight. So, it helps to double-check dimensions, especially when planning materials where over- or underestimating can cost time and money. A best practice? Always round conservative for materials—buy a bit extra, just in case.
When Digital Tools Enhance Accuracy
Apps and software are powerful, but only when you know boundaries. Whether sketching on CAD, inputting GPS points into a GIS tool, or drawing on a mobile app, the output depends on the quality of input. Double-checking trace points against real photos or visual markers helps ensure accuracy. Tools sometimes display the area instantaneously—handy for quick decisions—but remember that oversight matters.
Common Pitfalls to Watch For
- Unit mismatches: Mixing inches and centimeters, for instance, can trip you up. Always convert to consistent units first.
- Assumptions about shape: Labeling something a “rectangle” when it’s slightly skewed can introduce error.
- Omitted fragments: When decomposing shapes, it’s easy to forget small areas, like a triangular sliver at the edge.
- Rounding too early: Keep precision through intermediate steps, then round at the end—this preserves accuracy.
These mistakes are more common in hands-on scenarios than you’d think—like tiling where tiles don’t meet perfectly straight lines, or carving curved planters.
Why a Human Touch Still Matters
Even with precise formulas and digital tools, intuition and context matter. For instance, a builder might eyeball a off-kilter corner and suggest adjusting the design rather than exacting formulaic perfection—the human preview or “feel” helps catch aspects algorithms overlook. Plus, real projects involve budgeting, aesthetics, and materials that intertwine with the area calculation—you can’t separate tidy math from messy reality entirely.
Conclusion
Figuring out how to find area is surprisingly practical—and a bit artful when shapes get funky. Whether using classic formulas, dividing into chunks, or relying on digital tools, blending technique with human judgment yields sure results. And while math affords precision, embracing imperfection (a little extra material, a quick sketch) often makes projects more resilient and real.
FAQs
How do I calculate area for complex or curved shapes?
Break irregular shapes into familiar parts—like triangles, sectors, segments—or use grid tracing or digital tools. Then add each component’s area, adjusting for partial overlaps.
What if I mix up units like inches and centimeters?
Always convert all measurements to a single unit before calculating. Misaligned units lead to significant errors in final area.
When should I trust grid approximation versus formulas?
Use grid or tracing methods when exact dimensions are hard to capture, or when a rough estimate is sufficient. For precise needs—like flooring or fabrication—stick to formulas or digital tools.
Does rounding early affect accuracy?
Yes, rounding intermediate results can distort outcomes. It’s best to keep full precision until the final calculation, then round or approximate as needed.
Can I rely on software to calculate area automatically?
Yes, but remember: accuracy depends entirely on how well you outline the shape. Double-check boundaries and input especially if relying on maps or sketches.
What’s a practical tip for beginners?
Always measure carefully, label units, sketch shapes—even rough ones—and double-check whether you’ve accounted for every piece. Starting with a visual helps avoid missed fragments or misapplied formulas.
This article demonstrates that calculating area isn’t just about memorizing formulas—it’s about blending math, measurement, and human adaptability in real, often imperfect contexts.
