
 December 20, 2025
  7 Min
7 Min  No Comment
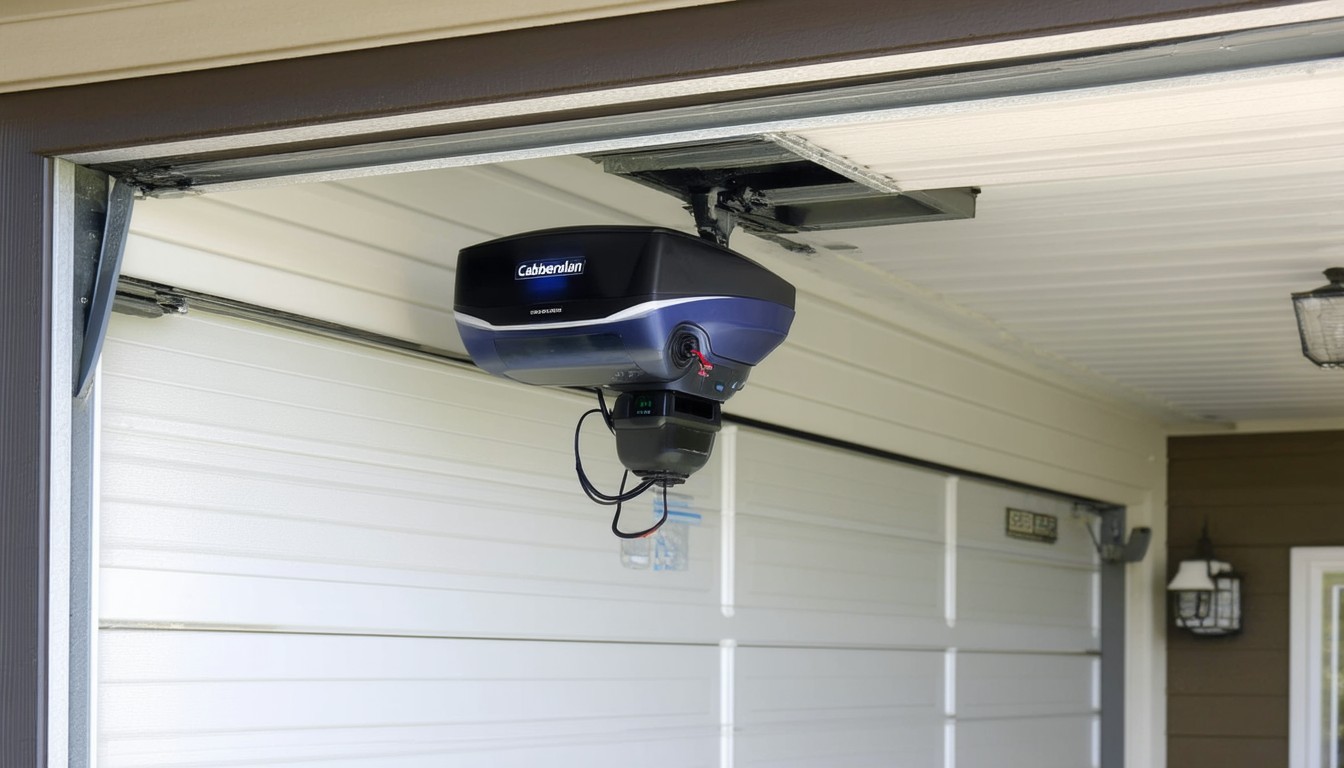
Modern garage door openers have evolved into robust, technologically advanced systems. One of the signature features of many Chamberlain garage door openers is the “learn button.” Essential for programming remotes, keypads, and clearing old codes, this button is at the heart of garage door security and convenience. For homeowners, understanding its function and exact location can simplify troubleshooting and streamline the installation of new accessories. With smart home integration on the rise and security a constant concern, knowing how the learn button works isn’t just technical know-how—it’s practical empowerment.
Locating the Learn Button on Chamberlain Garage Door Openers
Typical Placement and Color Coding
Most Chamberlain garage door openers have the learn button situated on the rear or side of the device, usually near where the antenna wire hangs down. For models produced within the last two decades, the button is often prominent—sometimes accompanied by a small LED indicator. Color coding helps distinguish compatibility:
- Yellow: Latest models, compatible with Security+ 2.0 remotes and accessories.
- Purple: Mid-2000s openers, corresponding to Security+ system.
- Red/Orange: Older Security+ models, generally pre-2005.
- Green: Early Security+ systems.
The button may be beneath a light cover or next to the wiring terminals. Accessing it usually involves a ladder and sometimes removing a plastic lens cover.
Identifying Your Model for Accurate Location
Chamberlain’s product line spans decades, with subtle design changes over the years. The owner’s manual, typically available online via the model number, provides specific diagrams. If the paper manual is missing, the model number is typically stamped on the opener’s motor housing or back panel. Once the model is identified, searching “[Model Number] learn button location” usually yields a quick answer.
Real-World Scenario: Streamlining Remote Setup
In a common scenario, a homeowner loses a remote or installs a new universal keypad. The learn button is their gateway to syncing new devices without professional help. By following clear visual cues—like the button’s color and placement—they can regain reliable access in minutes.
As John Taylor, a certified garage technician, notes:
“I’ve seen customers spend hours searching for the learn button. Once you know what color to look for and that it’s often hidden under the light cover, it becomes an easy task. Manufacturers don’t always make this step obvious—but it’s the key to hassle-free programming.”
How the Learn Button Functions: Security and Setup Guide
Core Functions of the Chamberlain Learn Button
At its essence, the learn button:
- Programs New Remotes: Initiates a brief window (usually 30 seconds) to sync remotes or keypads.
- Erases Old Codes: Pressing and holding the button clears all paired remotes, useful if a remote is lost or after a move.
- Connects Accessories: Links smart devices, vehicle HomeLink systems, and even some Wi-Fi hubs.
The process is designed to be simple but secure. Only someone with physical access to the opener can activate programming, reducing the risk of remote hacking.
Step-by-Step: Programming a New Remote
- Access the Learn Button: Use a ladder if needed. Remove the light lens cover if obstructed.
- Press the Learn Button: Briefly press and release (do not hold unless erasing all codes).
- Pair the Remote: Press the desired button on your new remote within 30 seconds.
- Confirmation: The garage light blinks or an LED activates to signal success.
If problems arise, double-check the frequency compatibility—models made after 2011 often require “Security+ 2.0” accessories.
Security Considerations and Best Practices
Recent studies by the National Crime Prevention Council suggest that up to half of home burglaries occur through garage entry. Regularly updating codes and erasing old remotes when moving or after losing a device is a key recommendation. The learn button, then, is both a programming tool and a security feature.
Troubleshooting Common Issues With the Learn Button
The Button Won’t Respond
Occasionally, the learn button may seem unresponsive. This could indicate:
- Power Issues: Check for a tripped circuit or faulty outlet.
- Button Damage: Years of use or moisture intrusion can corrode or wear out the button mechanism.
- Firmware Mismatch: Certain “universal” remotes may not fully support older learn buttons.
Consulting Chamberlain’s customer service or a certified technician is advisable if basic troubleshooting fails.
Clearing Memory to Remove Old Devices
If multiple unwanted remotes are programmed or you’re concerned about lost or stolen remotes, performing a full memory wipe is the fix:
- Press and Hold: Hold the learn button until the indicator light turns off (about 6–10 seconds).
- Test Remotes: None should operate the opener; now, reprogram necessary devices.
- Safety Reminder: After erasing, reprogram only in the presence of trusted devices.
Real-World Example: Home Sale Security
When a home changes hands, clearing all previous remote codes is considered a best practice by real estate professionals. Chamberlain learn buttons make this process fast and private, reducing the need for costly service calls.
Integrating Smart Home Features Using the Learn Button
Connecting Wireless Keypads and Vehicle Systems
Beyond just remotes, many users sync wireless keypads (for PIN entry) or their car’s built-in HomeLink transmitter. The learn button sequence remains integral, though some setups may require multiple button presses or PIN entry for added security.
Accessory Compatibility and Smart Home Hubs
With the surge in smart home upgrades, Chamberlain’s learn button plays a role in connecting compatible Wi-Fi bridge modules or integrating openers with Amazon Alexa and Google Assistant (through MyQ accessories). Always verify accessory compatibility with your opener’s learn button color and manufacturing date for seamless setup.
Summary and Next Steps
The Chamberlain garage door opener learn button is more than just a programming tool—it’s a cornerstone of home security, upgrade flexibility, and day-to-day convenience. Its location, marked by distinctive colors and found near the antenna or wiring terminals, unlocks a range of capabilities from programming a lost remote to securing a newly purchased home. Staying up-to-date on your opener’s model specifics, understanding the meaning behind the button’s color, and using it as part of regular security best practices ensure a reliable, adaptable garage door system for years to come.
FAQs
Where is the learn button typically located on my Chamberlain garage door opener?
Most Chamberlain openers have the learn button on the back or side of the unit, usually near the antenna wire or by the terminal strip. Occasionally, it’s hidden under the light bulb cover.
What does the color of the learn button indicate?
The color—yellow, purple, red/orange, or green—signifies the model type and which remotes or keypads are compatible. Matching your remote or accessory to the button’s color ensures successful programming.
How do I reset my Chamberlain garage door opener using the learn button?
Hold the learn button for about six to ten seconds until the indicator light turns off. This action erases all previously programmed remotes and keypads.
Can I program my car’s HomeLink system using the learn button?
Yes, the learn button is essential for pairing vehicle HomeLink systems with the opener. Follow the vehicle’s HomeLink programming instructions while using the learn button on the opener for secure syncing.
What should I do if the learn button isn’t responding?
Check the opener’s power supply and look for any visible damage to the button. If issues persist, the opener’s circuit board or button contacts may require professional servicing.
Is it safe to erase all remote codes from my garage door opener?
Yes—and it’s recommended when moving into a new home or after losing a remote. Clearing all codes and then reprogramming offers better control over who can access your garage.
